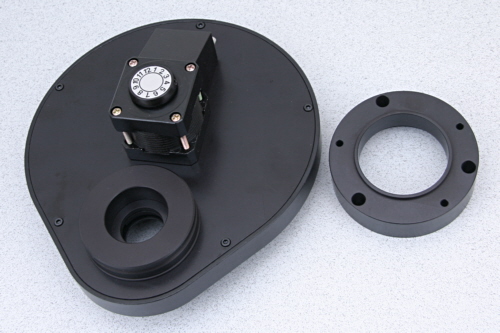
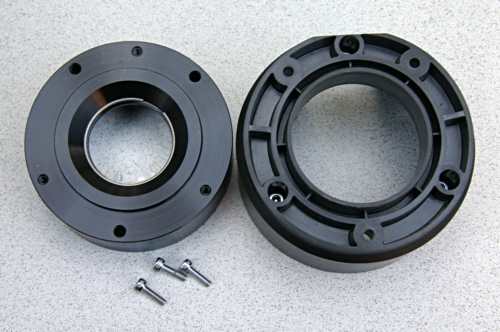
 Step 1. For the installation you will need a filter wheel and a replacement collar. |
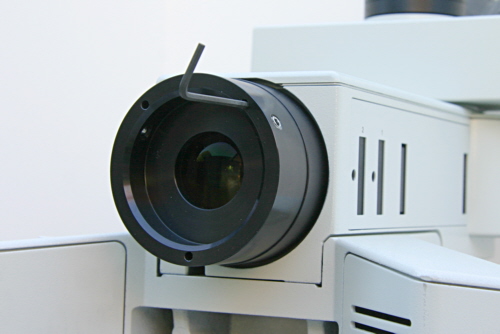
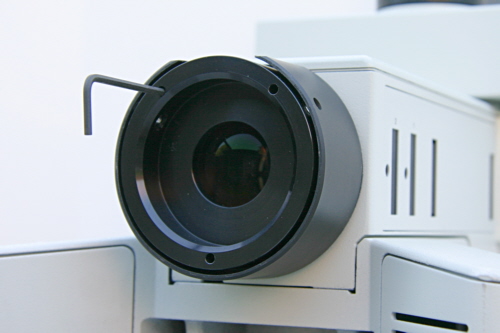 Step 2. The microscope should be equipped with a booster lens. There is a plastic collar around it. Unscrew the three socket-head screws holding the lens assembly. |
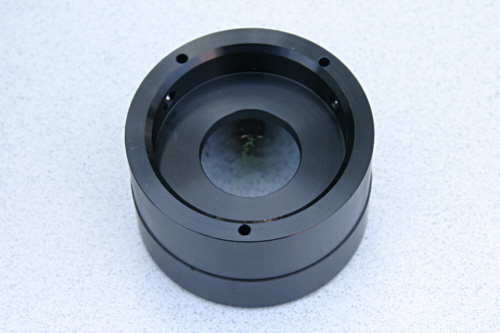
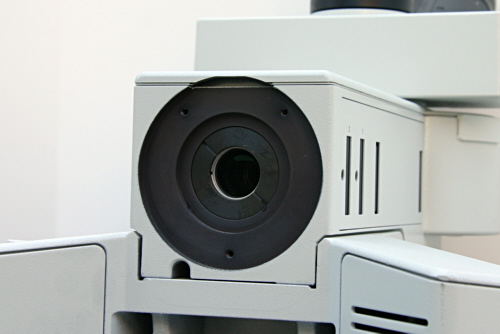 Step 3. Remove the booster lens assembly. |
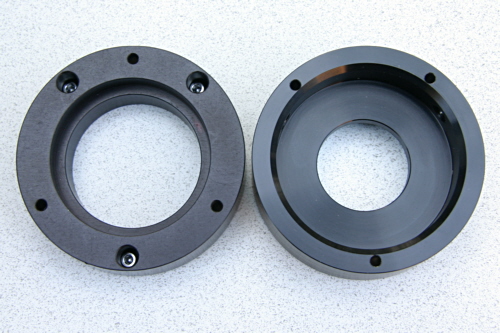
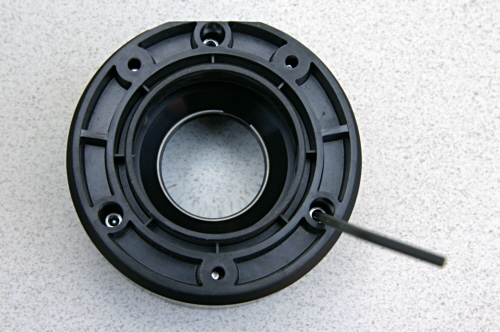 Step 4. Turn the booster lens assembly as shown and remove three socket-head screws. |
 Step 5. Remove the plastic collar from the booster lens. |
 Step 6. Turn the booster lens upside down and insert three socket-head screws into the replacement collar. |
 Step 7. Put the booster lens on top of the replacement collar while aligning corresponding holes. |
 Step 8. Carefully turn both parts upside down without disturbing the alignment and attach the replacement collar to the booster lens with three socket-head screws as shown. |
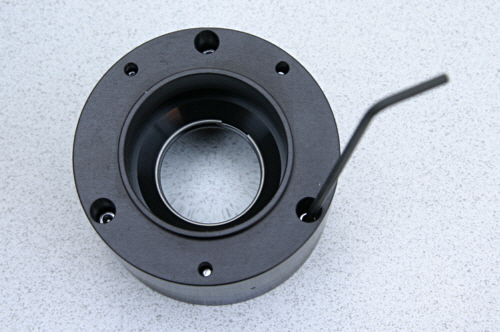
 Step 9. Attach the booster lens with the replacement collar to the microscope as shown. |
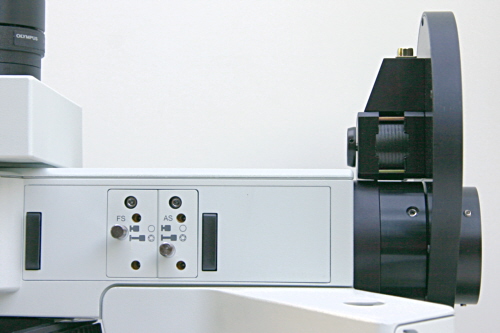 Step 10. Install the filter wheel into the booster lens receptacle and fix it with two set screws. |
Home > Filter Wheel > Olympus BX51 Mounting